Showing posts with label punches. Show all posts

Saturday, November 2, 2013

Looking back...


No cards made here sadly......  I do wish that there was twice as many hours in a day so that I could get all the crafting done that I want..Oh to dream....
So I wanted to share cards that I have made for my 2 daughters over the years. I am glad to say that over the years my card making skills have grown.
They are not in any particular order....this is how they come out of the box. Enjoy!
 
 The black flowers are rub ons and the rach is traced around some chipboard letters and glitter added.
 A personal favourite technique of mine is to add hand drawn stitches to the edge of my cards.
 I love to use up my scraps and I also love bright colours....who would of guessed...
 This is an old one....using chalks

 Trying different shaped cards.

 Something different....may have to try this again one day....it is a fun card.


 GIRLS=GLITTER
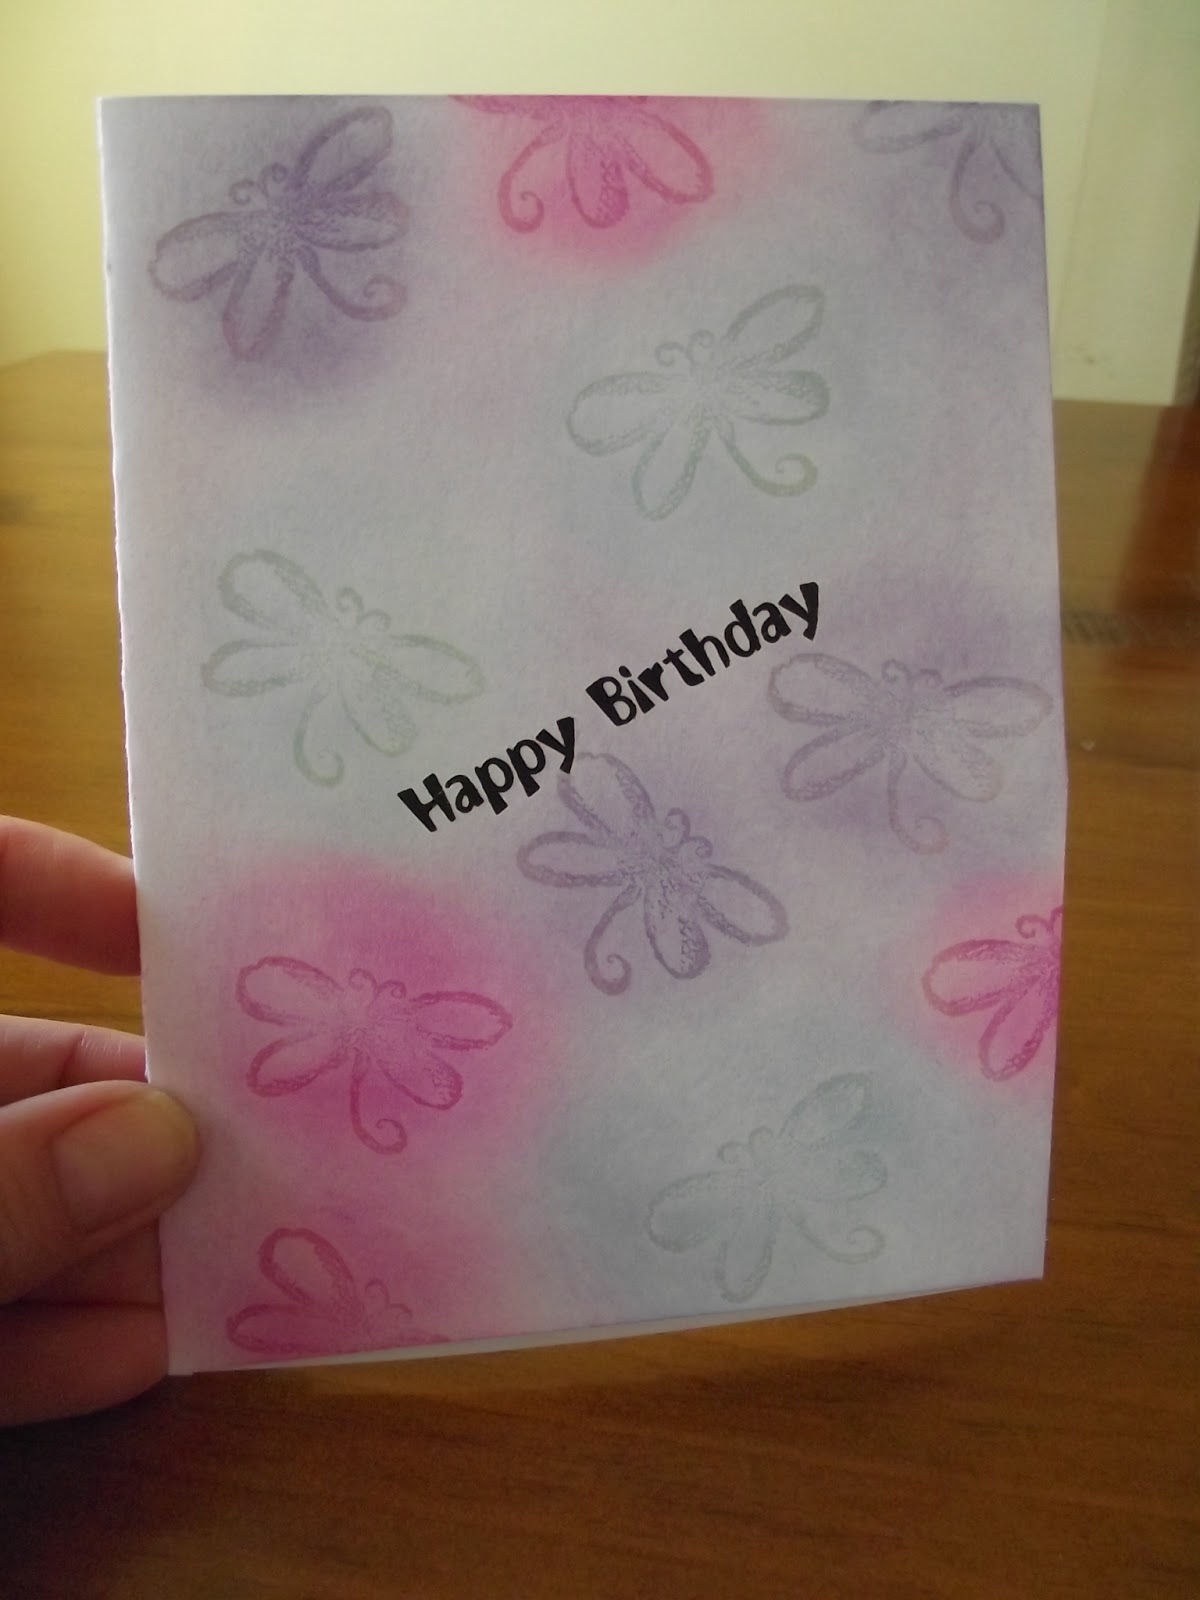
This one was for a 6th birthday and the 6th butterfly was on the inside of the card.
I hope that you have enjoyed stepping back in time with cards from the past.
Happy Crafting
Gayle

Tuesday, December 4, 2012

Over-worked.....read on

Hi there,
This arrived on Sunday while we were out mustering....so hubby has a new toy to play with for awhile. It is meant to have a stickrake on the front....Long story that I am sure you do not want to hear about.
 
 Saw this massive birdy along the road on Sunday too....

I have had a break down in the scrapping room......My corner rounder has died on me....maybe I over worked it.....I do love to round off the occasional corner or two....I couldn't round all the corners on this card so it will be 1/2 rounded and 1/2 sqaure...


Have a good day and round a corner for me....
Happy Crafting
Gayle

Tuesday, September 13, 2011

Funky flower tutorial

WHO PUT THIS PHOTO ON THE BLOG???


Well now that I have your attention. I want to show you how I made the layered flowers using the funky flower punch. Scroll down past the chocolate.


These were the punches that I used, if you have different punches experiment with them to get different style flowers.


Punch out your flowers, I have used a double sided paper to get more contrast and add interest.


Wet your punched out flower.


Once the flower is wet scrunch the petals and set aside to dry.


Once the flowers are completely dry then glue them together, I use glossy accents as my glue but you can use your favourite. I find glossy accents has a very strong bond.


Layer the flowers, slightly rotating so that the petals are offset.


Keep layering the petals until.....


....your flower is complete.


This is a flower that I prepared earlier!!!!LOL


You can see the dimension that you can achieve.


I hope that you enjoy making some flowers of your own.


Happy Crafting


Gayle


Friday, September 2, 2011

New Products

We have recently ordered more of the very popular "funky flower" punches and a few other items.....smooch, rub ons, ribbon, magic mount, vellum. Take a look here....


If you want any item reserved please give me a call/leave a comment.

Gayle

Saturday, March 19, 2011

3 Circles makes.....


....One of these cute little flowers.
Have a go in all different sizes.
So easy and fun to make.
Punch out your circles, fold two in half, place one circle in the centre of the two folded circles and adhere together. Make a stalk for the flower. I have used paper for my stalks, another idea would be the leaf ribbon. Add some doodling around the shapes for definition and around the edge of your card.

Saturday, February 5, 2011

Back again....

....camera is recharged.I have also added a few black and white cards.


Don't forget you can decorate your envelopes with any leftover puched shapes and few wavy lines.....


Bust your stash....


Well it could take some of us a while this way (depending on the size of your stash).....but it is a great way to get rid of those small pieces of leftover bazzill. I love bazzill and I don't like throwing any away, and this is fun too.
I gather up some coordinating colours.......... punch out some of your favourite shapes.......add some dots, lines, swirls or circles.....attach them on your card.........Don't forget to make a few at a time. This will save you heaps of time and it is a good idea to have a few spare cards on hand for that unexpected event.


Go on have a go this is a fun way to use up some scrap card.
Gayle
PS I was going to show another card made the same way but with a stamped greeting but the camera was wanting a recharge. Will try to do this later. Enjoy these for now. If you make any using this idea I would love to see what you come up with. Please send me an email with piccy attached. I think I will go and have a play around with the colour theme "Black and White" and see what I can come up with.

Thursday, December 2, 2010

Handy hint...

......don't push those punches to the back of the cupboard.....Yes you have had them for ages.....Yes you may be a little sick of the same old same old.....try this.... it is a handy idea....all that you need is a gel pen.....add some lines/doodles around the edges of the punches and this gives the punch a nifty lift...try spots too.....then add them to your next project....